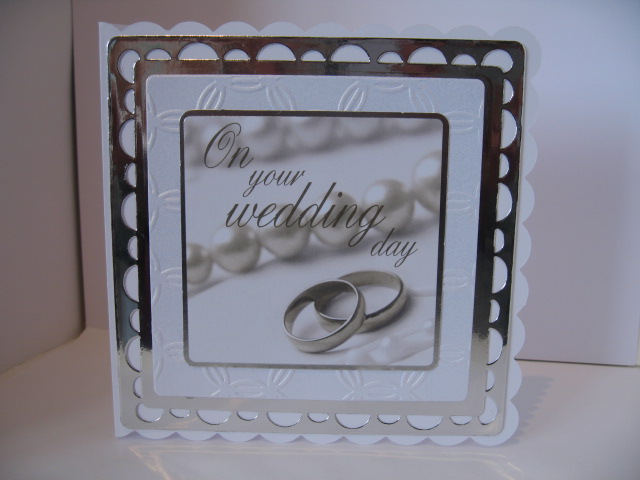
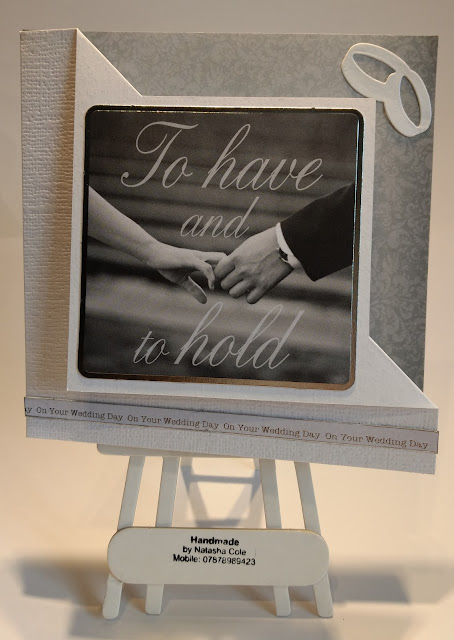
Saturday 15 December 2018

My First Crochet Cardigan


I couldn't be more pleased with the results of crocheting this cardigan pattern.  It turned out a perfect fit and took three weeks to create.

I crochet this using Lion Brand Wool Ease yarn which was nice to work with and would use again.  I used 7 balls of yarn 

When it comes to following crochet patterns my experience isn't always a good one.  I particularly struggle with some companies like Drops Design.  However, this pattern was designed by Sara Delaney and she talks your through every stage of the process within a video tutorial over on the Craftsy website.  You have every chance of being successful when you can follow this way!  

What was really helpful was her formulae for getting your sleeves to perfectly.  With her guidance you know how many increases to do over how many rows and how frequent.

The main elements of the cardigan were crocheted using half double crochet stitch which was made in the back loop of the stitches in the row below.   I created a faux ribbing effect around the edges of the garment by crocheting front and back post stitches.

The buttons are little elephants and were purchased on Etsy.  


Sunday 9 December 2018

Mrs and Mrs

Today's wedding cards were made for a civil partnership and the card toppers are from Kanban called Mrs and Mrs. 

The three toppers in this set were a reasonable size and oval in shape so the challenge I had was finding a die to sit these on.  I have some half dies from the Crafter's Companion Die'sire range and used the Garden Party die on this occasion for all three cards.  

These are the cards I made:

This first one was made in two stages, I cut one half of the die out very carefully then placed the die next to it so it would be cut as one whole piece.  If you have a Gemini die cutting machine from Crafter's Companion it is possible to stop the machine and put it in reverse which means you don't squish the half that has already been embossed.


This second card I actually did cut the die out as two pieces and then joined together on the back before adhering to the cardstock.


I used the Die'sire fancy card blanks for this card so the edging die was put on outer edges and pink cardstock was stuck on the panel behind making the lacework stand out.  

These card blanks work really well with these Create-A-Card dies as you can put the dies through the machine without any worries of squishing your embossing.

This card opens out and has a sentiment in the centre.  I did mean to put the topper in the middle but hey, I forgot!


Sunday 2 December 2018

Beautiful Bride

Beautiful Bride is the name of the topper set I have used in the following two cards.  These are from Kanban.

I really didn't know how these were going to turn out or whether or not I would be pleased with the results.  I took my time over the design.  Trawled through images in Pinterest to see what others had done with these toppers to find some inspiration.  I decided that I would place them on stepper cards and once I got this far the mind began to pull together some ideas.  Both cards needed flowers to lift the images and I had the idea on one of the cards to make the bouquet look life-like by adding small paper roses and using some dry gypsophila.

As I said, I am very pleased with the results of these two cards, so I hope you enjoy viewing them.

This first card reminds me of the bride, before she heads off to the church.  She is in an eloquent room with floral wallpaper and she catches a glimpse of herself as she makes her way out to the church.


Sunday 25 November 2018

Happily Ever After

I have made some Wedding Cards from the Happily Ever After series of toppers from Kanban's Love and Marriage collection and wanted to share these with you.  

Not really being a fan of the A5 size card I thought perhaps I should throw my prejudices aside and go larger, after all they are wedding cards and deserve that extra attention right!


It slightly annoys me that most toppers are hard to match up with existing dies I have in my crafty stash.  I believe most people must have similar issues and just mount them on to mirri card unless they find that perfect match!  In this case I found my Romantic Rectangles from Spellbinders fitted the occasion, with only a slight amount of trimming, the topper fitted on the die cut.  


The Congratulations is from a word die set I have from Trimcraft.  These are a favourite brand of dies, not least because sizing is great, but they come with a magnetic storage sheet.  I store mine in an A5 plastic wallet.  In fact all my dies are stored this way and they live in a 12 litre clear plastic storage box on a shelf.

Here are the four cards I made with the toppers.  Isn't it a beautiful die from Spellbinders.  If you don't own this already, I recommend having it.  It cuts like a dream.  In case you are wondering, the champagne glasses were cut from a Marianne designs creatable die.

Enjoy xxx


Sunday 18 November 2018

Persian Tiles - Eastern Jewels crochet blanket

Back in the spring I joined a group on Facebook that were working on making the Persian Tiles, Eastern Jewels crochet blanket.


At first it took some time to get my head around the instructions / stitches but found with the support of the group and their postings, after crocheting a few motifs, it began to fall into place.  It was fun being a member of group that supports each other in encouraging them on and celebrating their achievements.

The blanket has been made as a gift to celebrate my mother in law's 90th Birthday today so it is only fitting that I post this on my blog on her birthday.  Happy Birthday Sheila!  

The blanket took me 3 months to make.  I planned to accomplish making a large octagonal tile per week but during some time off work, I managed to increase this.  The joining together was done on the reverse side of the blanket.

Here are some images of the completed blanket.


Sunday 4 November 2018

Sparkling Engagement

Here are a few cards I have made using the Sparkling Engagement Toppers from Kanban.

It was a great excuse to bling up my cards with pearls.

I really like this style of card as it is nice to have the inside of the card on show.  The little pearl bows that I have had in my crafty stash have found a purpose and I was so pleased when I later discovered I had more of these that I put them on the rest of the cards (not illustrated here).


The rings look great mounted in the frame.


Saturday 3 November 2018

Country Walk by Drops Design

Today's crocheted item is a jacket I have made using Drops Muskat yarn.  

I purchased 15 balls in colour number 15 but actually only needed 13.  The yarn was £1.50 a ball which seems fairly reasonable.

The pattern was quite hard to follow and the although the back and sides were straight forward, the sleeves took a bit of work to get the decreases correct for my shorter than average arms.

The jacket took me 3 weeks to make but now I am comfortable with the instructions I expect I could do another in 2 weeks.  That's great as I do intend to make another one, but perhaps not this winter as I have other projects lined up!

Here is the finished item although it is waiting on some buttons.


Sunday 28 October 2018

You're Engaged

I enjoyed making these toppers into cards.  Especially with the cards that I used with them.  They fold diagonally giving you the background of the inside of the card to view and decorate.

Here are the six cards I made up from this set.  I hope you enjoy xxx


Sunday 21 October 2018

Love and Happiness

These are quite lovely card toppers from the Love and Happiness Topper set from Kanban.

Here are some cards that I have made from the collection. 

I have used Tonic dies and worked with 6x6 cards.  I hope you like the black and white theme.


Sunday 14 October 2018

Love Birds

These are so sweet!  They are the Love Birds from Kanban's collection.  

Again I had to look in my archives for the other cards already made from these collection.

Here is the one I made more recently followed by two others already in my stash of handmade cards.


Sunday 7 October 2018

Celebrate with Bubbles

I like the images on these toppers from the Celebrate with Bubbles from Kanban's Celebration cardkit.  They are fun and modern and the background paper is really cool.  It gave me the idea of searching the internet for an embossing folder with wine glasses on but didn't come across anything similar.  Oh well that's an idea for someone.  

Here are the cards I have made using this kit.  I have used an embossing folder for the background that says "With Love" and "Best Wishes".  It is quite a useful one.  

Here are the 4 cards I have made, enjoy xxx