Sunday 31 January 2016

Mindfulness Parching

I am conscious that Valentine's Day is only a fortnight away, and I already have a few requests for cards so I spent the weekend making some Valentine cards using my parching skills.

I am keen to develop these skills and I find it so relaxing to do as you just loose yourself in mindfulness.  Did you notice I used the word mindfulness?  It seems to be the "buzz" word at the moment.  For example my nephew brought me a Mindfulness Colouring book for Christmas.  The front cover reads "more anti-stress art therapy for busy people".  

Intrigued to learn more about this mindfulness I have looked it up and found and I quote "It is a mental state achieved by focusing one's awareness on the present moment, while calmly acknowledging and accepting feelings, thoughts, and bodily sensations.  With mindfulness we can work our minds and bodies, learning how to live with more appreciation and less anxiety."

It has made me think that spending my spare time crafting must mean that I practice mindfulness without realising it.  When I am being creative I enjoy a happy mindset and I find that I enjoy a happy life despite having to manage a physical disability and all that entails.

Anyway, back to the cards I have made.

Each piece of work requires finishing around the edge and it looks particularly nice if you do this by piercing the parchment. There are various tools you can use for this and they will create a different style of edging. Once you have created your pierced design you then use some tiny scissors and snip your way around by placing the points of the scissors into the tiny pierced holes that your tools have created.   This is no easy task as once you have the scissors in the pierced holes you then lower them, twist, then cut to create a "v" shape in the work.  This does requires a bit of practice and a lot of patience however I do feel I may have now mastered this.  I say this because I am getting more confident and faster at it and I am happy with the end result.

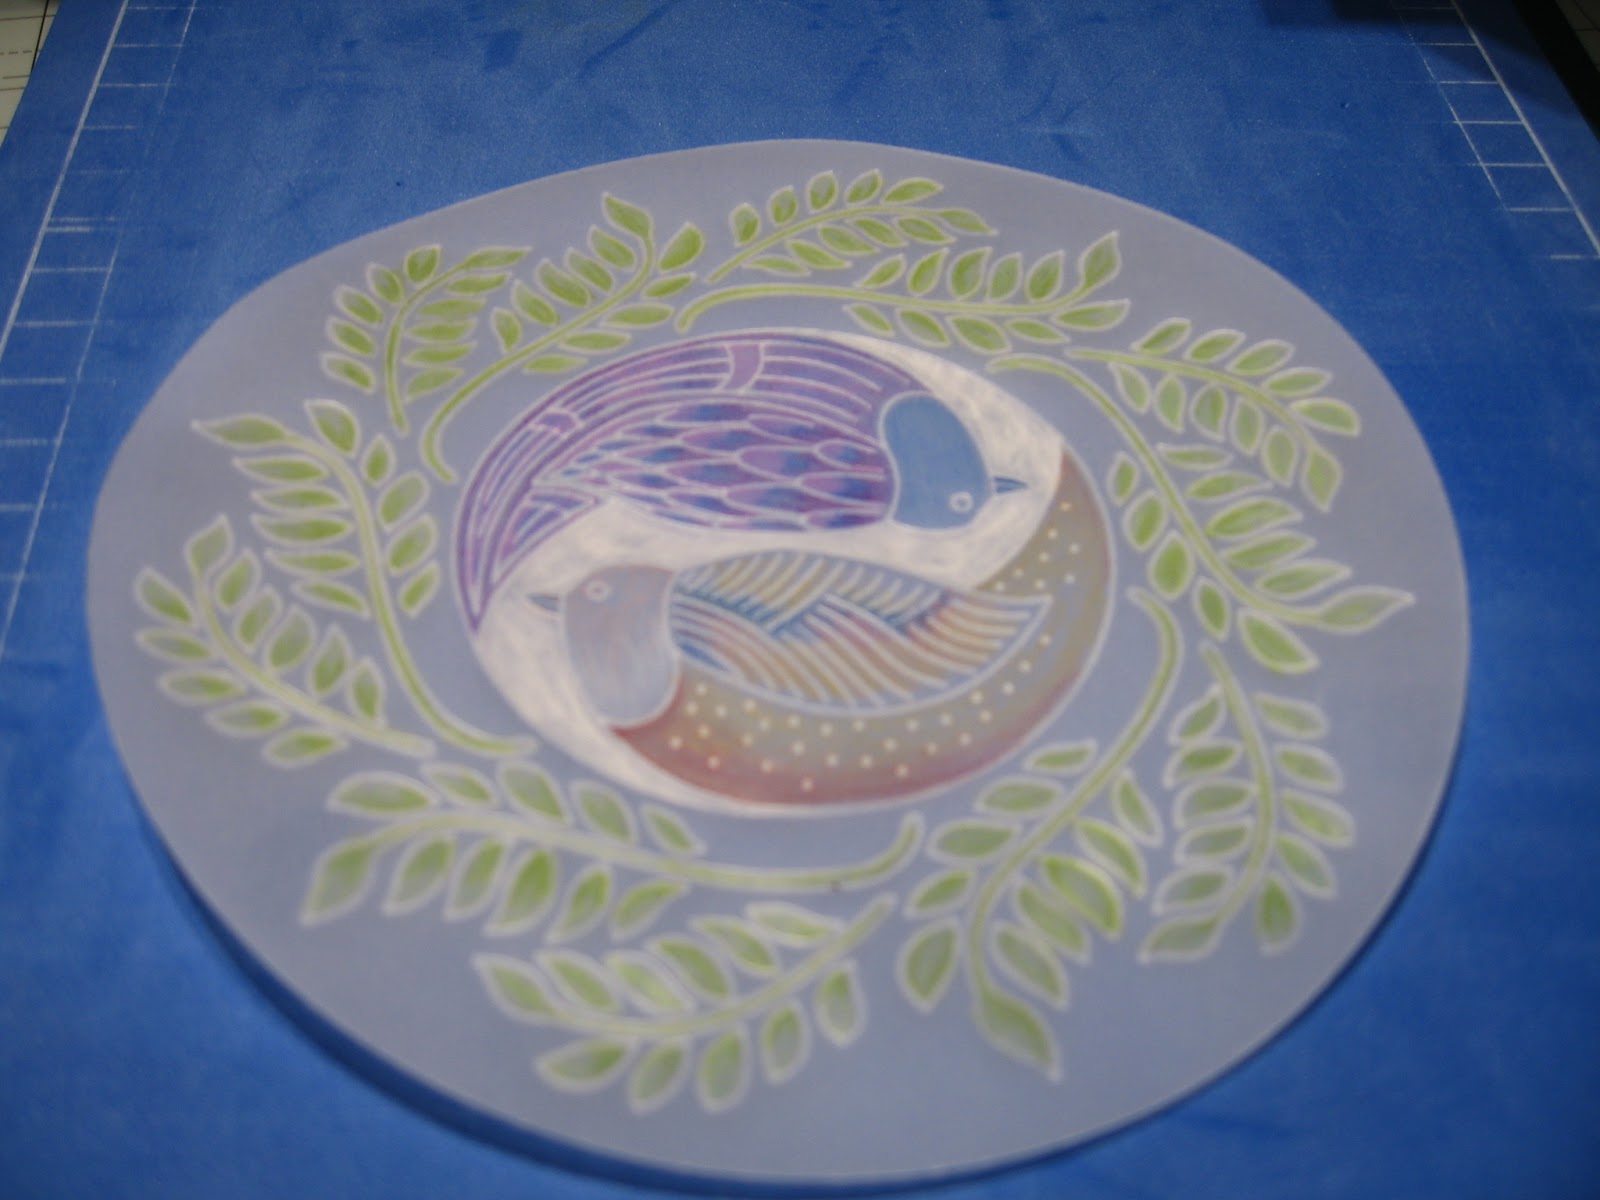
I made this centre piece a long time ago and it has been waiting for me to do something with it.  Today I had an idea and placed it on to some red card that I cut with a scallop edge die.  I then made another piece of parched work that the topper sat on.  


I wasn't sure where I was going when I started out with this card.  It is a made up of different elements from a Pergamano Grid. At the very last step I ruined my first attempt by writing the sentiment back to front.


This final card is one I have made using parchment paper that I have put in an embossing folder then coloured on the reverse before mounting it onto card.

Well I hope you enjoyed my Mindfulness Parching.

Crafty hugs from Crafty Tash x

Sunday 17 January 2016

Grooving with Groovi Plates

I've been playing with my Groovi plates this week.  They are easy enough to use and building up a scene is done the same way as with stamping, you start with the foreground first.  When it comes to using sentiments, it takes a bit of concentration.  My first couple of attempts were whilst sat in front of the television and I kept making spelling mistakes such as "farther" and not "father" and "Haapy" instead of "Happy"!

When I finally got it right I coloured in the areas using my Parchment Craft colouring pens.  It is nice and bright however I didn't like seeing the marks that the pens left.  It reminded me of the affect you get with non alcohol markers so I thought I would try making this again and use a different method of colouring.


2nd attempt coming up:


I am more happier with this one.  I have used my Faber Castell Pastel Pencils on the large areas.  I lightly added the colour and then used my finger to smudge it.  The overall affect is might lighter and I am happier with this.

Here is another card which I first coloured with the Parchment Pens 


and then this one where I used the Faber Castell Pastels.


Again, I prefer this as it doesn't distract your eye from the parching.

Here is an original I have made combining the Holly plate and the Laurel plate.  I liked the idea of colouring the background area (within the frame) as demonstrated by Barbara Gray on Honchanda.  


As you can see there is some curling going on so I am going to weigh them all down under some heavy crafting stash so they relax and lie flat.  Otherwise, it will be tricky to attach them to card.

Here is one I did a few months ago and have yet to mount onto card.


Well that's all the time I have for now, enjoy!


Saturday 9 January 2016

Say it with Flowers

Hi readers, today I have uploaded a card I have made using a floral Groovi plate purchased from Clarity Stamp.  It is done using a stylus tool and you run this along the grooves created in the Groovi plate.Then you work on the white work and add a splash of colour to make the flowers more obvious.

I hope you like.  There will be more to come when I get some more Groovi plates.


Winter Cuddles Papercrafting Kit

Christmas may be over but it is still winter so forgive me for making Christmas Cards in January!    Well how could I resist when I received this lovely papercrafting kit at just £8.95, half price! The illustrations are simply divine as they are created using watercolours, a technique I have never mastered.

I found some of the toppers were a perfect size to use with my side and centre stepper dies from Tattered Lace. A match made in heaven!  

Where I have used my stepper dies from Tattered Lace I have taken a matching image, cut it in half and placed it either side of the centre topper on the side panels and this has worked well.  I have done something similar with the side steppers.

It has been a while since I have made this many cards in one day and I am very pleased with the result.

I have used all the toppers up but have plenty of cardstock, inserts and animals to make a few more cards.

This papercrafting kit was a real joy to work with and my thanks to Tattered Lace.


Crafty hugs from CraftyTash x


Sunday 3 January 2016

Craftwork Cards - Man Made

Most of my cards are very feminine so it is nice on the odd occasion to make a few male cards.   With the help of the Craftwork Cards Man Made Paper collection I have done just that.

This first one is a partially wallpapered panel.  Perhaps I need a wallpapering brush to illustrate this more clearly but you get the picture.


This next one is a "handy man" card.  I made a template for this and I am happy to share.  If you would like a copy please drop me a comment at the bottom of this post.


The next four cards were made using dies from Trimcraft.


It may not be easy to see on this picture but I used a Sakura Gel pen to highlight the waves within the frame.  It makes the water look like it is glistening.  The cardstock is from Craftwork Cards.


I really like this idea of putting a hole in the front of the card and the sentiment visible through it.


This  card concept was inspired by Craftwork Cards as was the one above.
I hope you have enjoyed looking at my cards and feel inspired to create a few of your own.

Happy Crafting from Crafty Tash x